Your motorhome is a significant investment just like buying a home, and it’s vital that you protect it from damage and take measures to maintain its best value. Whether your motorhome has been in storage or you’ve taken to the roads with it, regular cleaning can help you fend off green algae, black smears, bird deposits and leaves and leaves. However, in spite of its apparent benefits, cleaning a motorhome is not an exciting task as it can be hard getting to those hard-to-reach places.
In this guide, we’ve put together everything you need to know to restore your motorhome’s shine and keep it looking at its best.
What cleaning equipment will you need?
Having the correct equipment will make the cleaning process effective without causing damages like scratches to the paintwork. Here’s a list of what you will need:
- A bucket
- Hose
- Multi-functional or V-shaped ladder with platform
- An extendable brush/mop
- A sponge or wash noodle mitt
- A flannel or towelled mop head
- Body Shampoo
- Window cleaner or spray
- Finishing Wax
- Toothbrush/felt brush
- Wheel and tyre cleaner
- Plenty of elbow grease
It might seem like the logical thing to do, but it is vital to note that the first step is to position your motorhome so there’s room to walk around it. Ideally, you should clean from top to bottom, starting from the roof and working your way down as this is where the algae and leaves are most likely to be found. Walking on the roof is not recommended because it can be slippery when wet, so always remember to use the ladder.
Additionally, some cleaning products or techniques can cause damage to your motorhome which is why it is vital to check the handbook for the manufacturer’s advice.
Start the cleaning
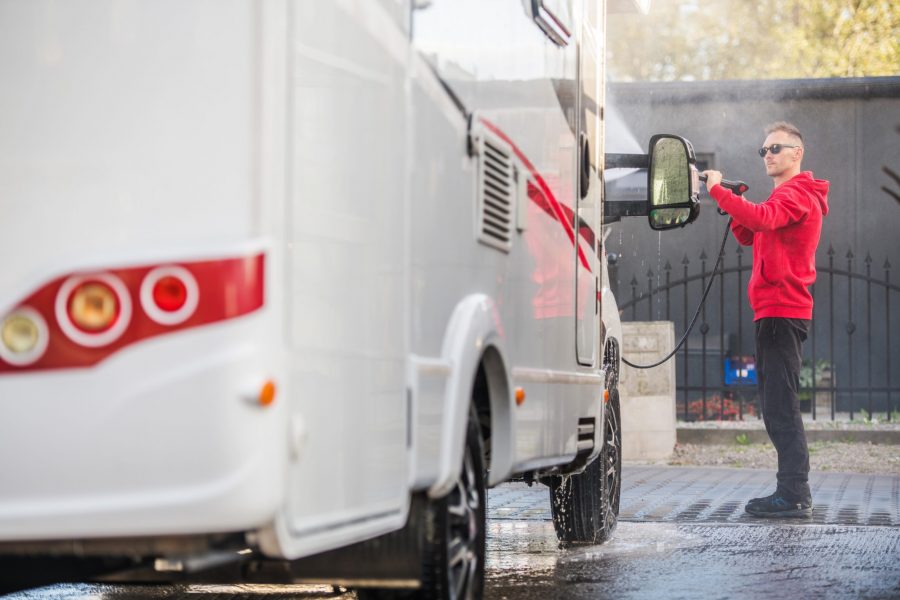
We don’t recommend the use of pressure washers except you can control the water pressure. The reason is that a very high flow could damage the window rubbers and seals and even remove the silicone from around areas like the TV antenna. Spraying with a hose or throwing buckets of water is a safer way to clean your motorhome.
Cleaning a motorhome roof
The first thing to do is to choose the cleaning product you will like to use, and this usually depends on the finish you want your motorhome to have. Shampoo and cream cleaners are fantastic options to consider and are popular with most motorhome owners. Whatever your choice, start by applying it to the end of your extendable brush and make sure you follow the quantity instructions.
Carefully climb up your ladder until you can reach across the roof and start cleaning the centre of the rooftop allowing the shampoo to soak in and work your way to the roof edge. If you’re concerned about the possibility of your step ladder marking your motorhome, you can apply pipe lagging or insulation on it.
Make horizontal strokes across the roof and repeat the process until the entire rooftop has been cleaned. If there’s any stubborn dirt, mould or stain, use plenty of elbow grease and apply pressure to get it cleaned off. You might need to move the ladder around the motorhome while you’re at it but be sure to give the entire roof a rinse afterwards. Some people use a bucket of hot water to remove the dirt and bird mess after cleaning, and this is okay too.
Side panels
Use the same techniques you used to clean the roof of your motorhome to clean the side panels. Use a soft brush, a sponge or noodle mitts to clean down each panel thoroughly. Let the cleaning solution soak in for at least 5 minutes and then use a hose to rinse off all bubbles or dirt. Afterwards, use a microfiber drying cloth to wipe away excess water. Washing up liquid can be very corrosive, and you should never use it for cleaning your motorhome to preserve its protective coating.
Black streaks and algae
If you notice black stripes, algae or any other persistent surface grim, you can tackle it with Autoglym engine cleaner or Aldi black streak remover.
Windows
Use warm soapy water and a sponge to clean down to remove any grit on your window to your heart’s content and then give it a good rinse afterwards. Don’t forget to clean the seals too and when you’re done, wipe the seals with a flannel. Additionally, make sure you carry out an inspection routine on all seals for tears, cuts and holes so you can spot any damage and have it fixed immediately. Doing this every time you clean your motorhome can aid prevent potential internal damp whilst also saving the money you could have otherwise spent on costly repairs.
Drying
Now that you’ve got your motorhome’s exterior cleaned, you can leave it to dry or you can use a drying cloth if you want to want to get it dry faster. We recommend the use of a microfiber cloth for drying since it’s soft and cheap.
Wheels
If you’re looking to making your van look entirely new, you need to give the wheels some attention too. You can get any of the spray-on tyre and wheel cleaners (especially the dual action products) to help you achieve clean, sparkly wheels. However, you will need to brush between the wheel spokes to get rid of stubborn dirt and grime after applying the cleaner.
Polish
If your motorhome lacks shine, it will need a polish for a final touch. Apply the polish to a flat wool mop end or cloth and work thoroughly into the surface. Increase the pressure to remove marks or scratches and then remove any residue with a microfiber cloth.
Cleaning inside your motorhome
Inspect the ceilings for signs of water damage and then wipe down the ceiling to windows with a microfiber cloth. Give the floor and upholstery a good vacuum to remove dust and open the windows and doors for ventilation to reduce moisture which can easily cause mould and mildew.
Empty the fridge of all leftovers and use a gentle anti-bacterial cleaner with a microfiber cloth inside it. Also use a mild cleaner for the bathroom to keep it sparkling clean and wipe the surface dry too.
After all is done, take your gleaming motorhome out to show off to the neighbours!